



.png)
Steps to create Employee Loan in ERPNext
Prerequisite: erpnext and hrms should be installed.
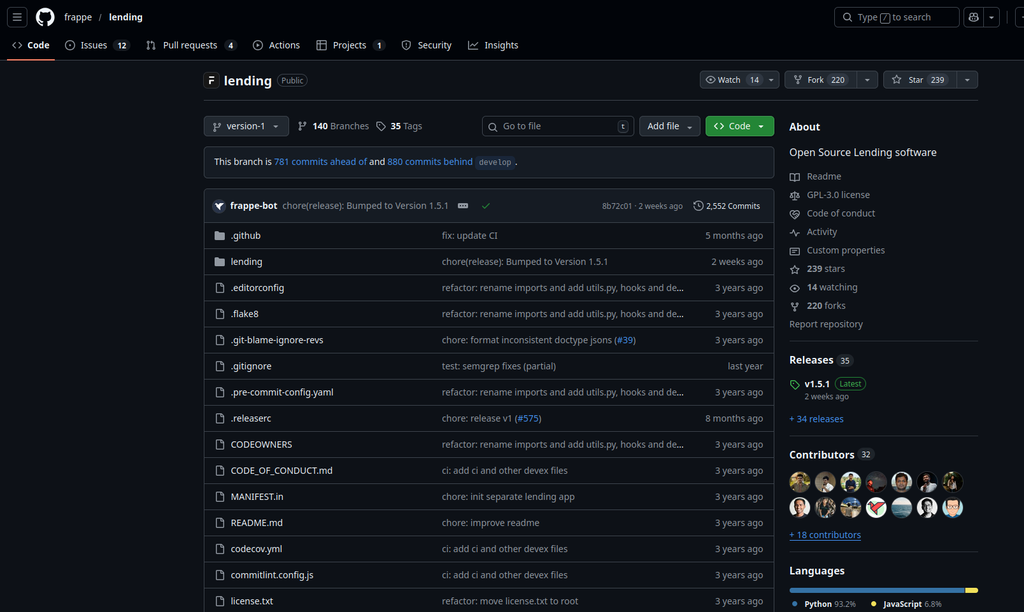
1. Install Lending module
make sure you are on branch “version-1” from https://github.com/frappe/lending
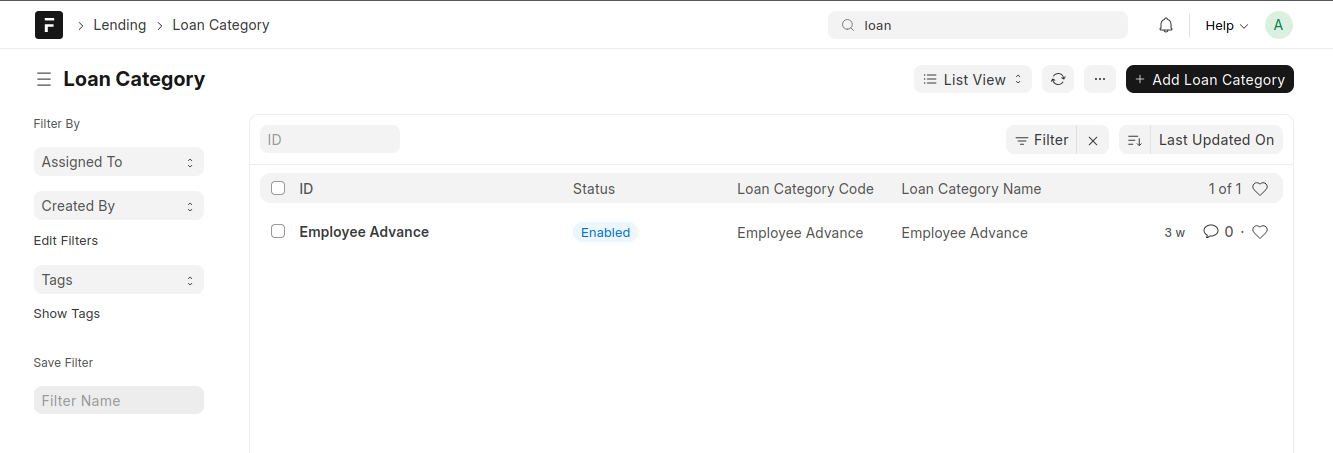
2. After Installation on Site Create a Loan Category
3. Create Loan Product
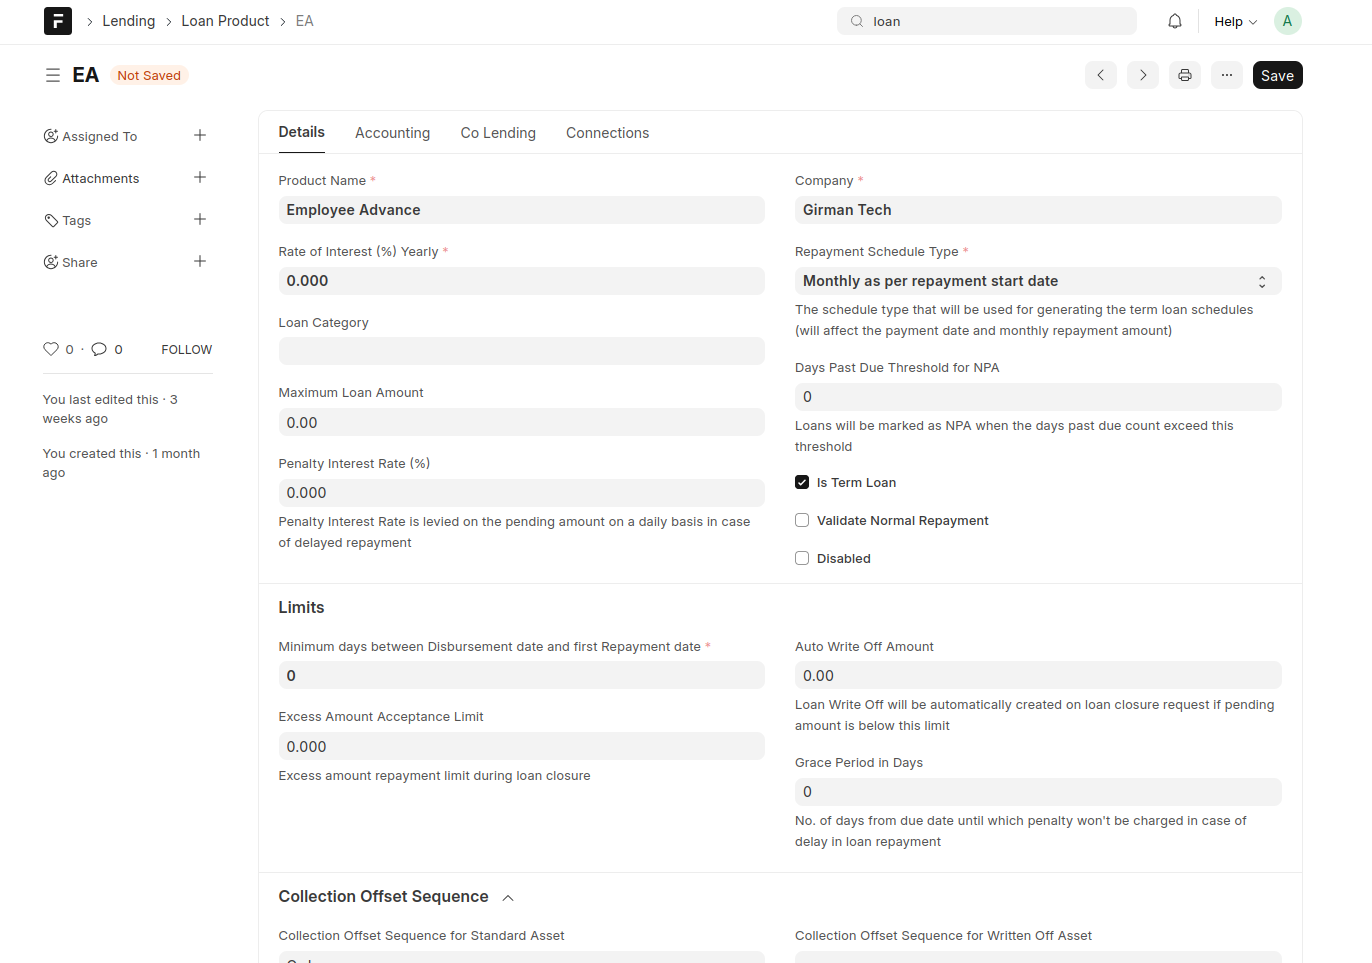
3.1 Give Product code, Product Name, Rate of Interest Yearly(usually 0 in Employee Loan), Repayment Schedule Type, Checkmark “Is Term Loan”

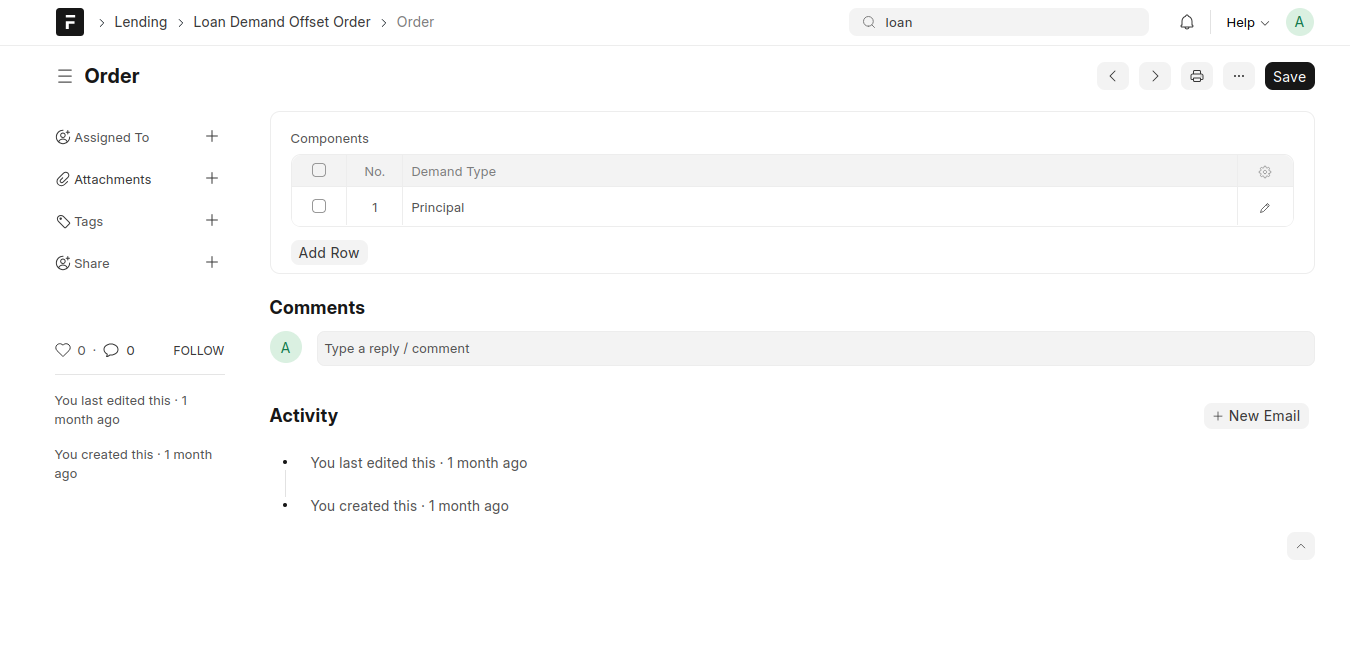
3.2 Create and Select “Collection Offset Sequence for Standard Asset” and “Collection Offset Sequence for Sub Standard Asset”
4. Create Loan Application
There is 2 Repayment Method.
4.1 Either Select how much amount the employee wants to pay per Period “Repay Fixed Amount per Period” or
4.2 For how many period the employee wants to pay “Repay Over Number of Periods”
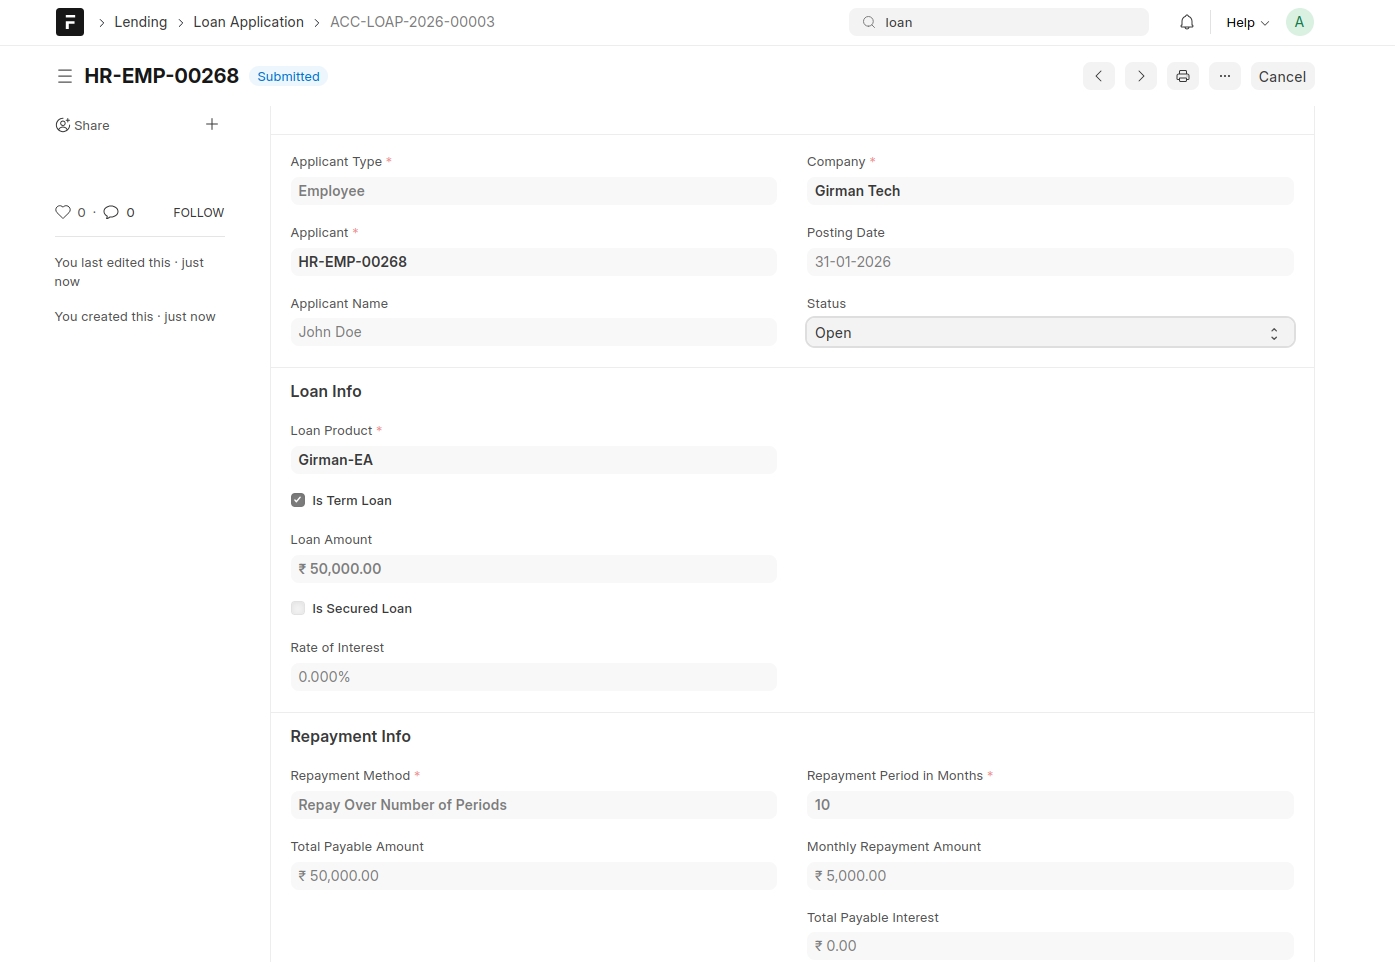
5. Approve the Loan
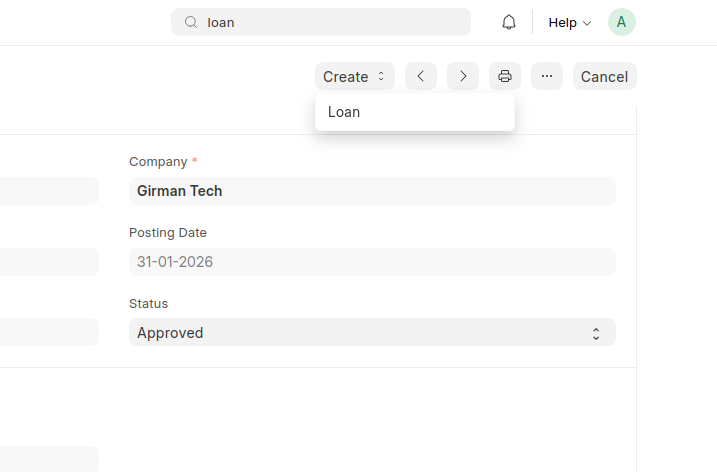
Now Change Status of Loan application to “Approved” and Click create and then Loan
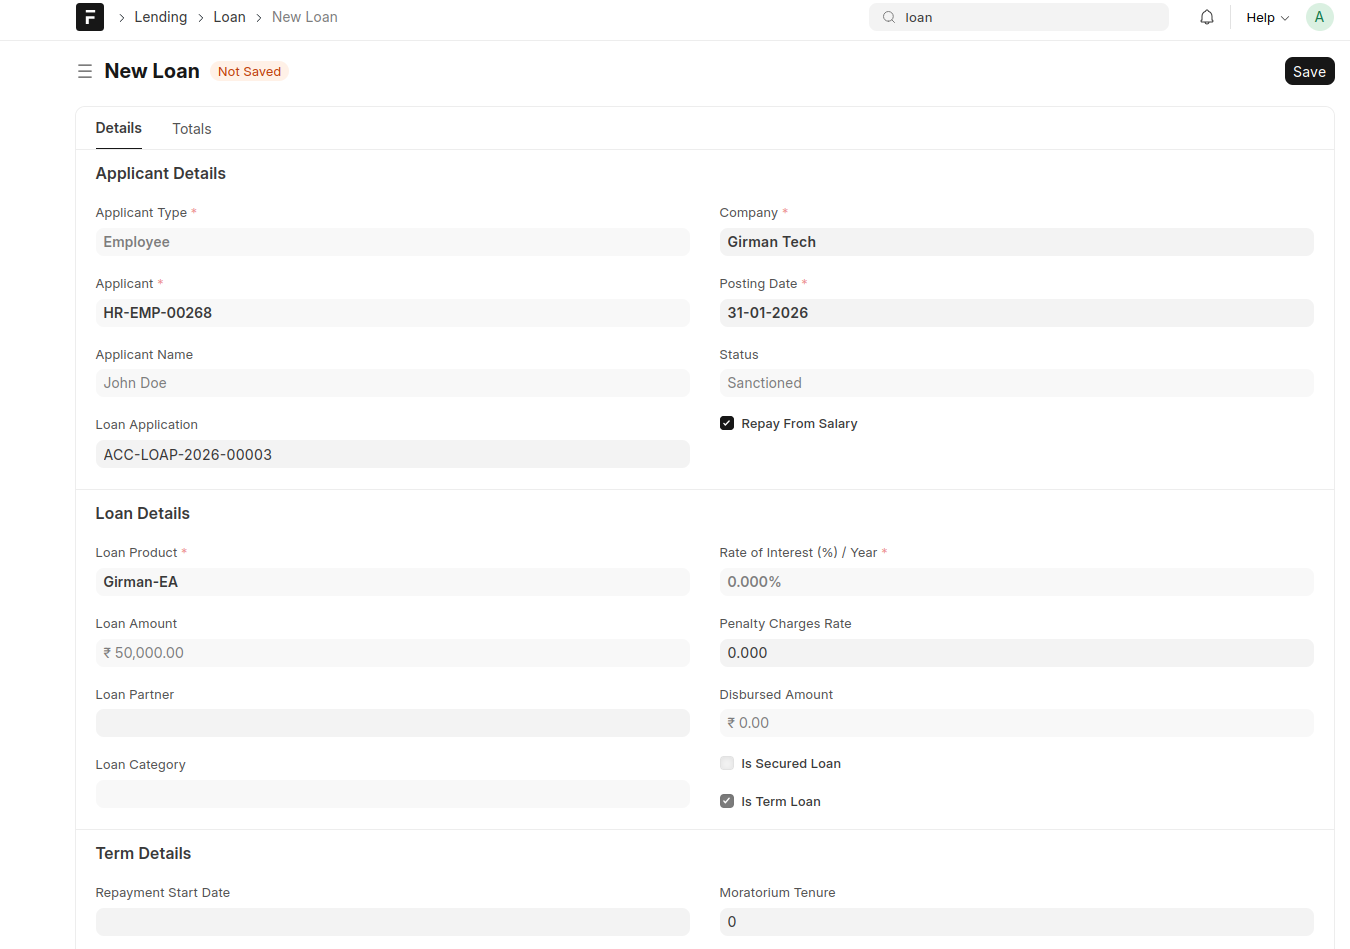
6. Repay From Salary
Now a Loan comes with all Details filled up, Checkmark “Repay From Salary” but before that assign a Salary Structure to that employee before the Loan Date.
7. Create Loan Disbursement
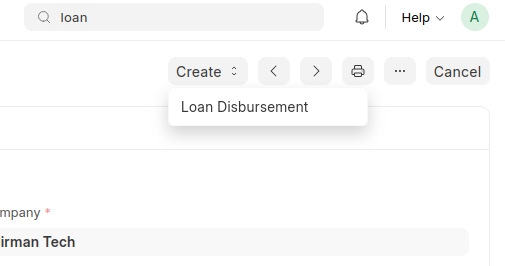
8. Set Disbursement Date and Repayment Start Date
(This date will be the date for First EMI to be deducted) rest details are autofilled and then submit
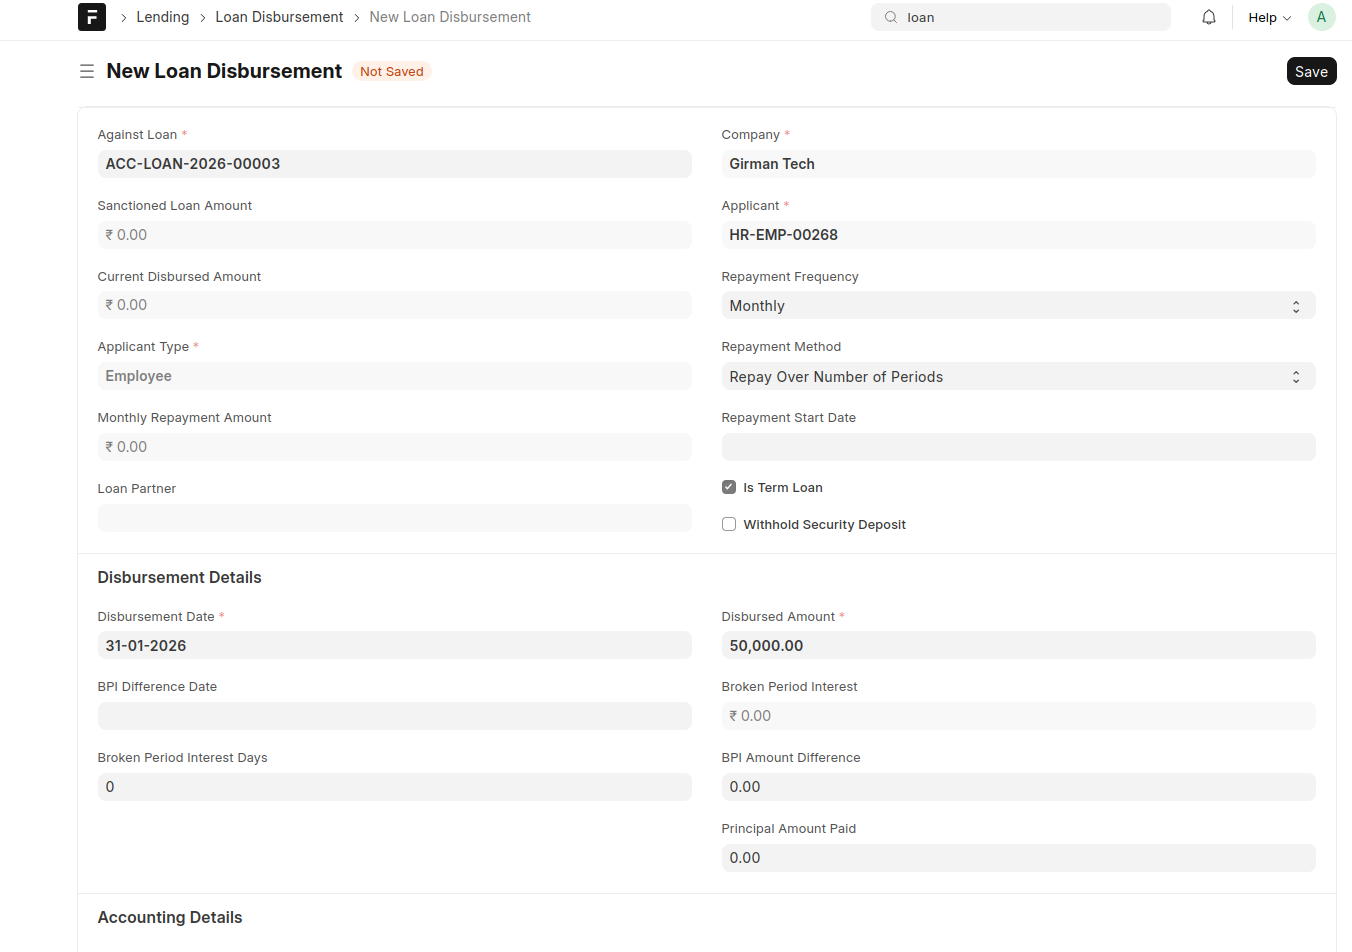
Now Loan has been created and disbursed
9. Loan Repayment Schedule
A Loan Repayment Schedule is created for that employee.
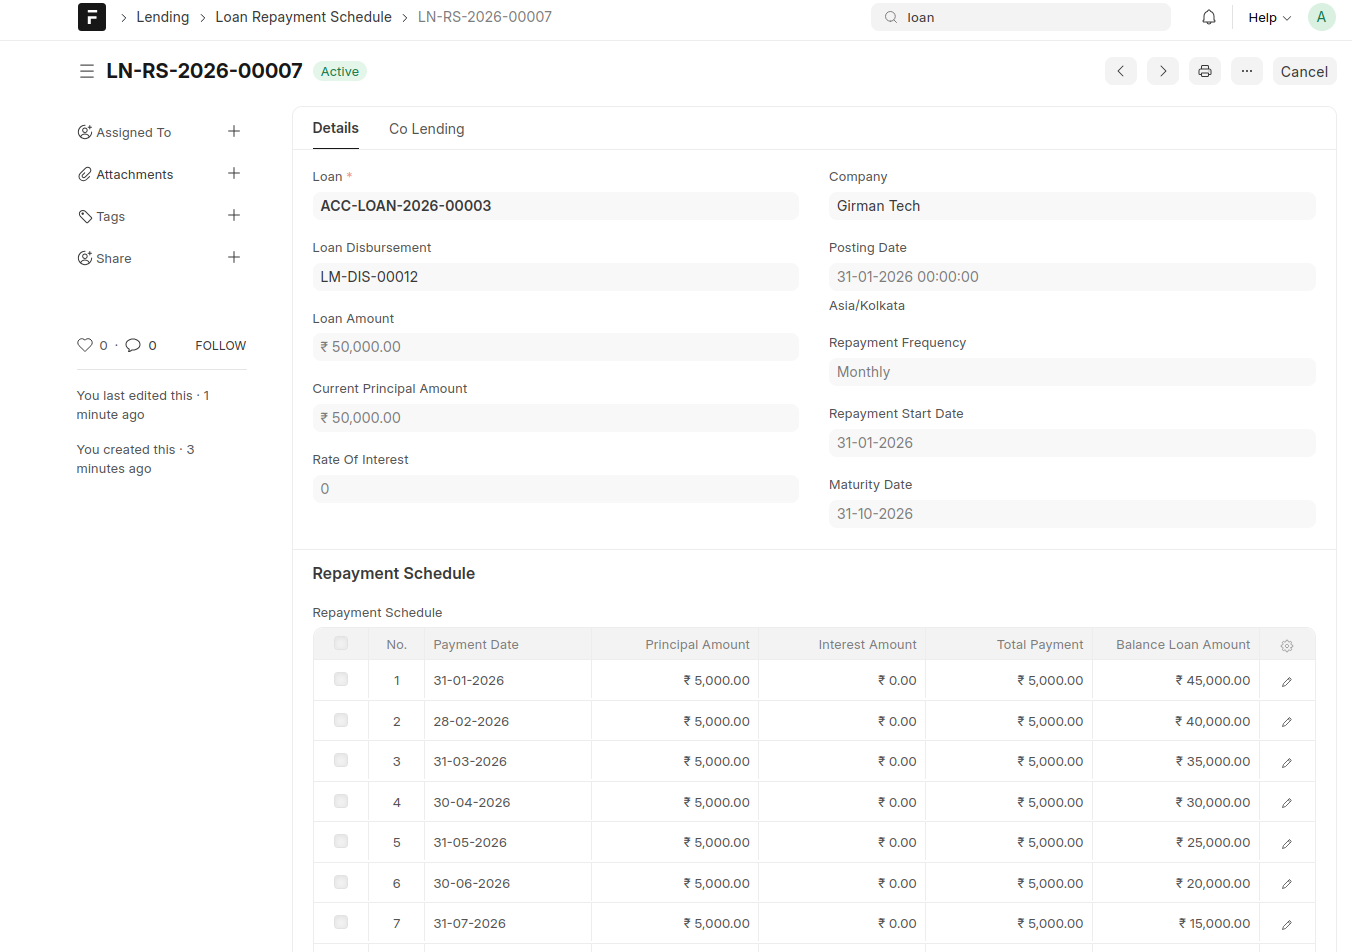
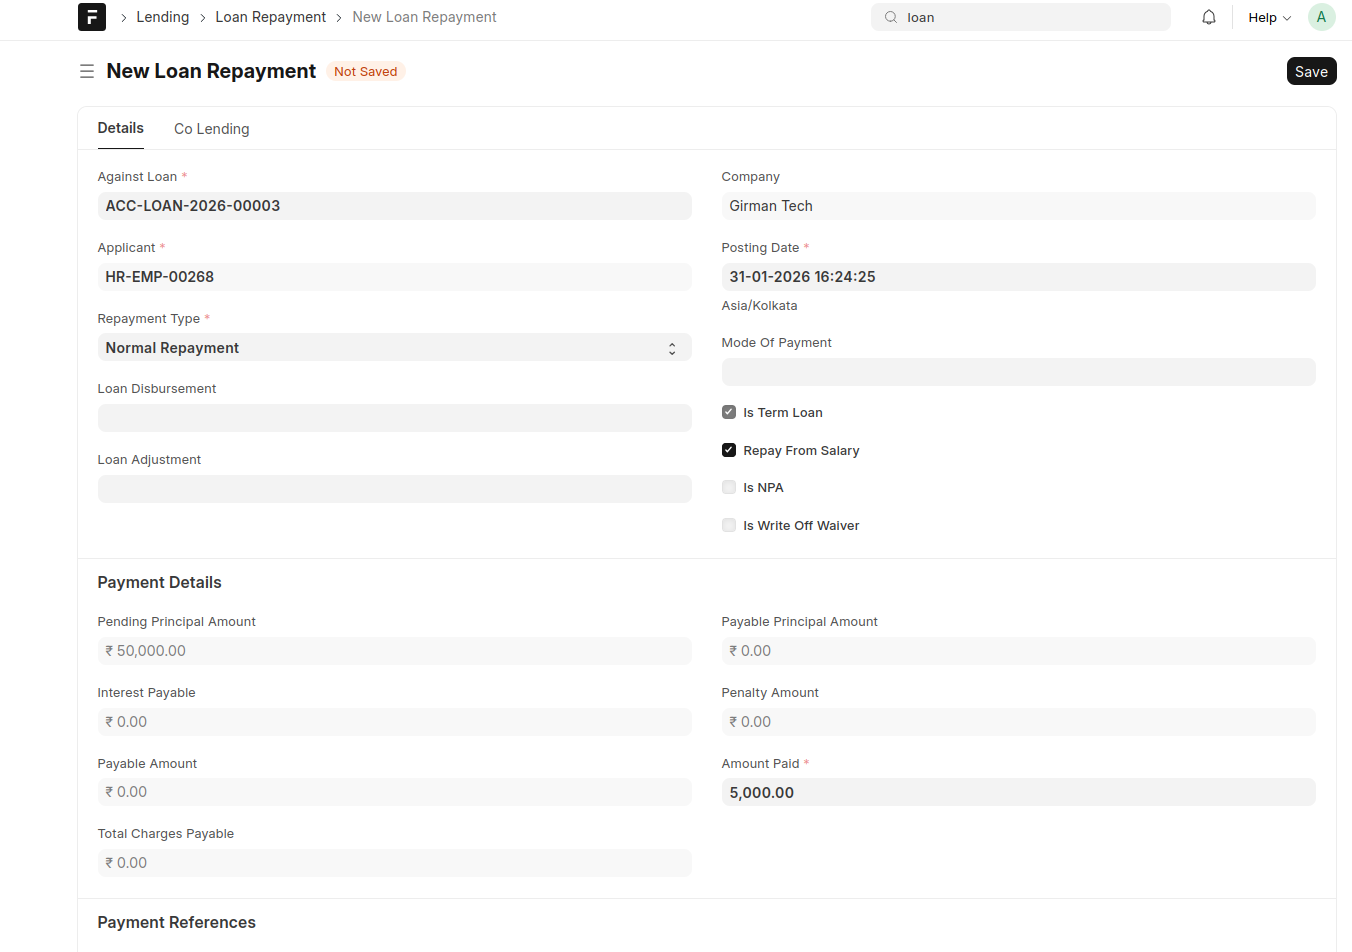
10. Loan Repayment
Now A Loan Repayment has to be created each month.
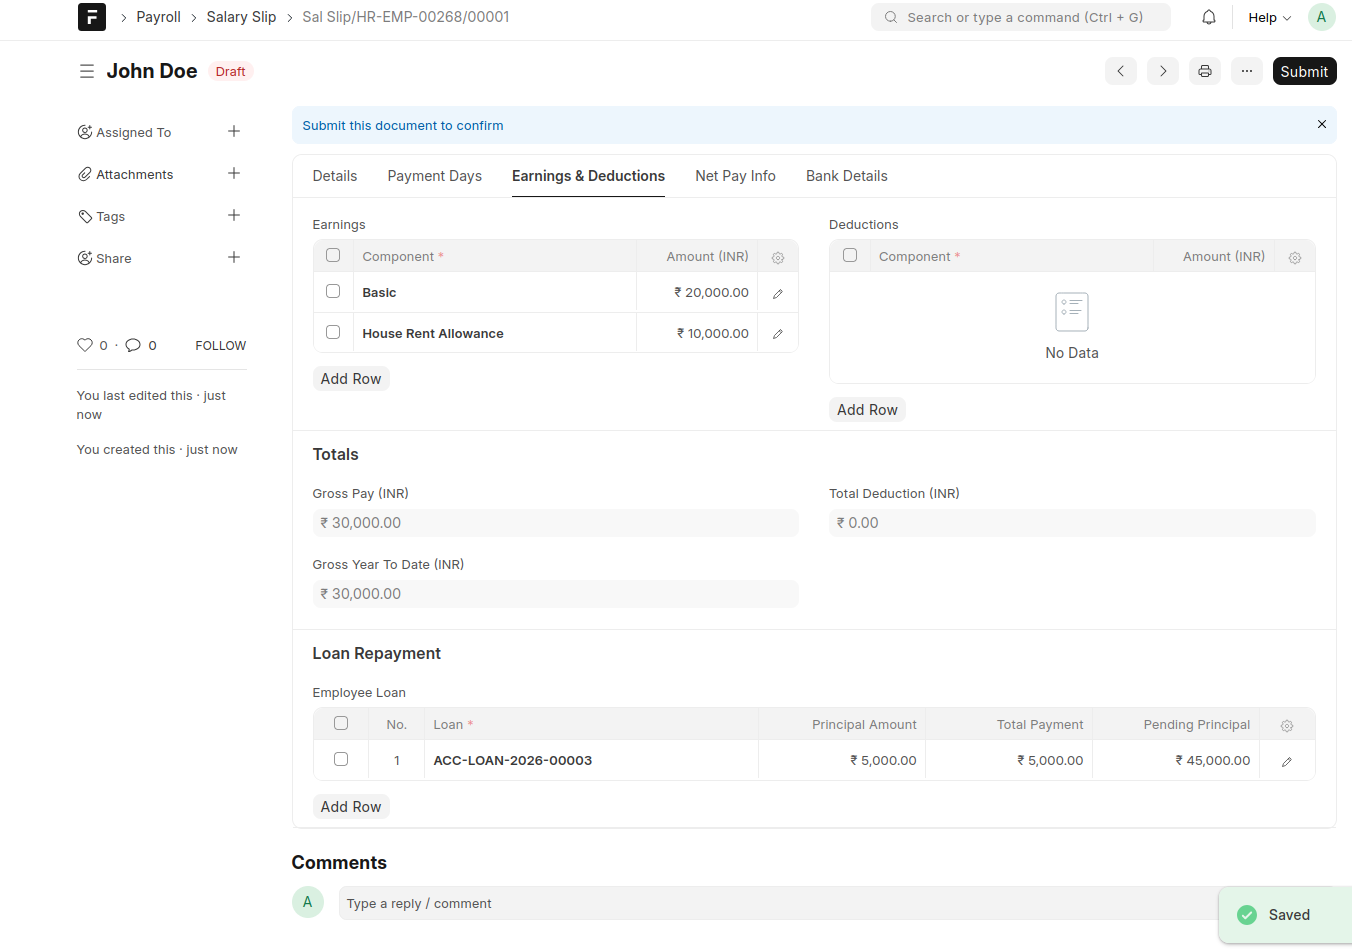
11. Deduct EMI from Salary
When we run payroll and generate Salary Slip the loan will automatically deduct from salary.
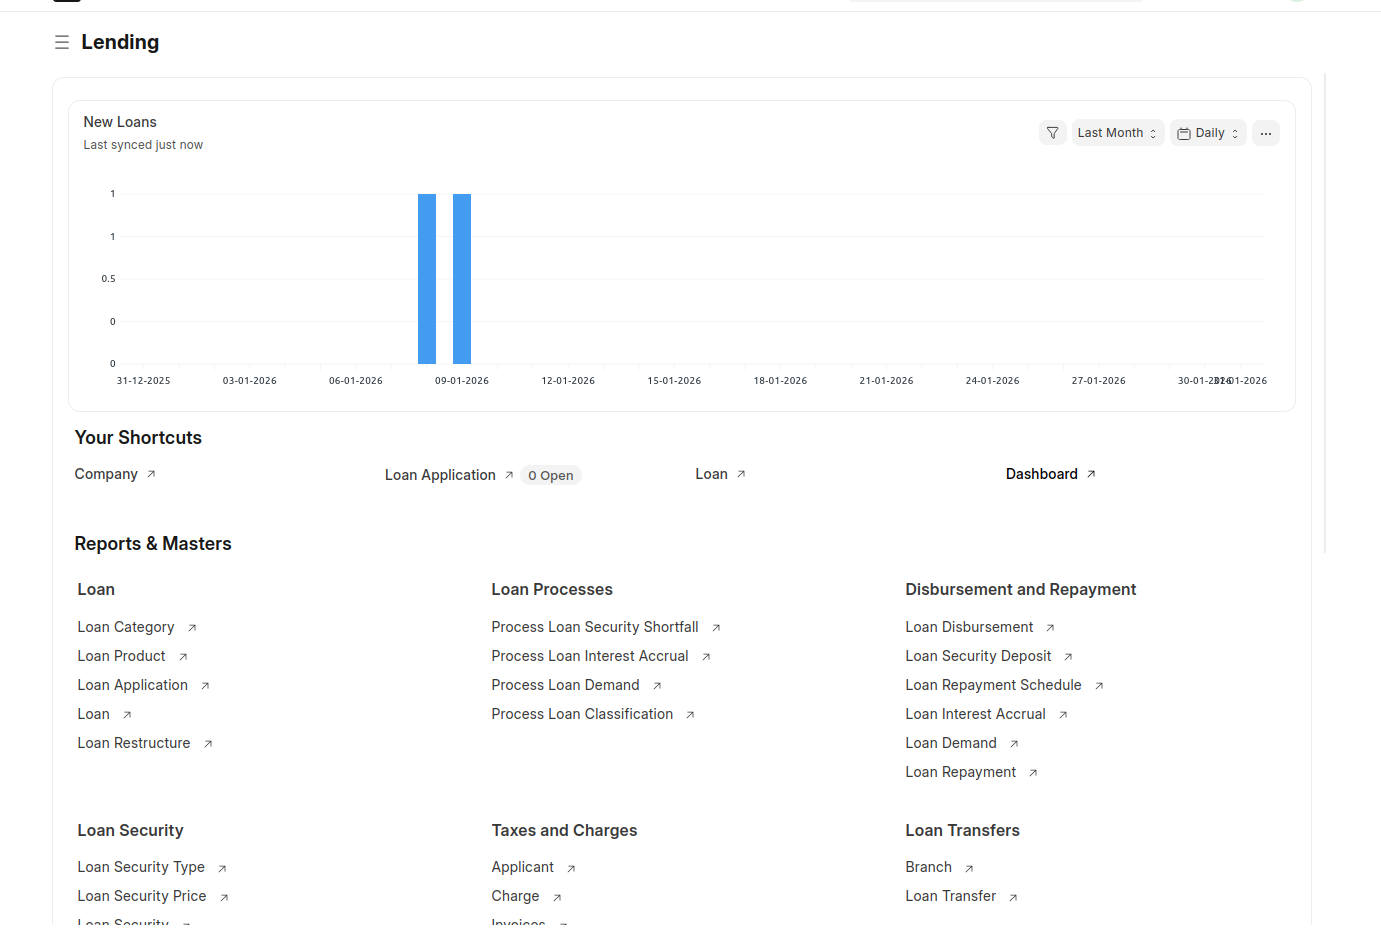
Dashboard
Conclusion
By following this workflow, you eliminate the manual friction of tracking balances and chasing repayments. The integration between the Lending module and HRMS ensures that once a loan is approved and disbursed, the system takes over the heavy lifting. With the "Repay From Salary" feature enabled, your monthly payroll runs stay accurate, your ledger stays balanced, and your employees benefit from a transparent borrowing process.